How to Auto-publish Gatsby Blog using Github Actions
How to Auto-publish Gatsby Blog using Github Actions
Using gatsby-plugin-scheduled-publishing
Published / By Travis Wimer
Last updated
As of October 2023, "Gatsby Cloud" no longer exists and this blog post is completely irrelevant to anyone and everyone. 🤷♂️
Gatsby is a great option for building your blog site, but when you want to publish a new post it can also be complicated.
Normally, you need to either depend on an external service or accept the annoyance of manually deploying every change.
But what if instead you could simply commit the new post to your repo and it would automatically deploy at the time you want?
Well, that's what this blog post is going to show you.
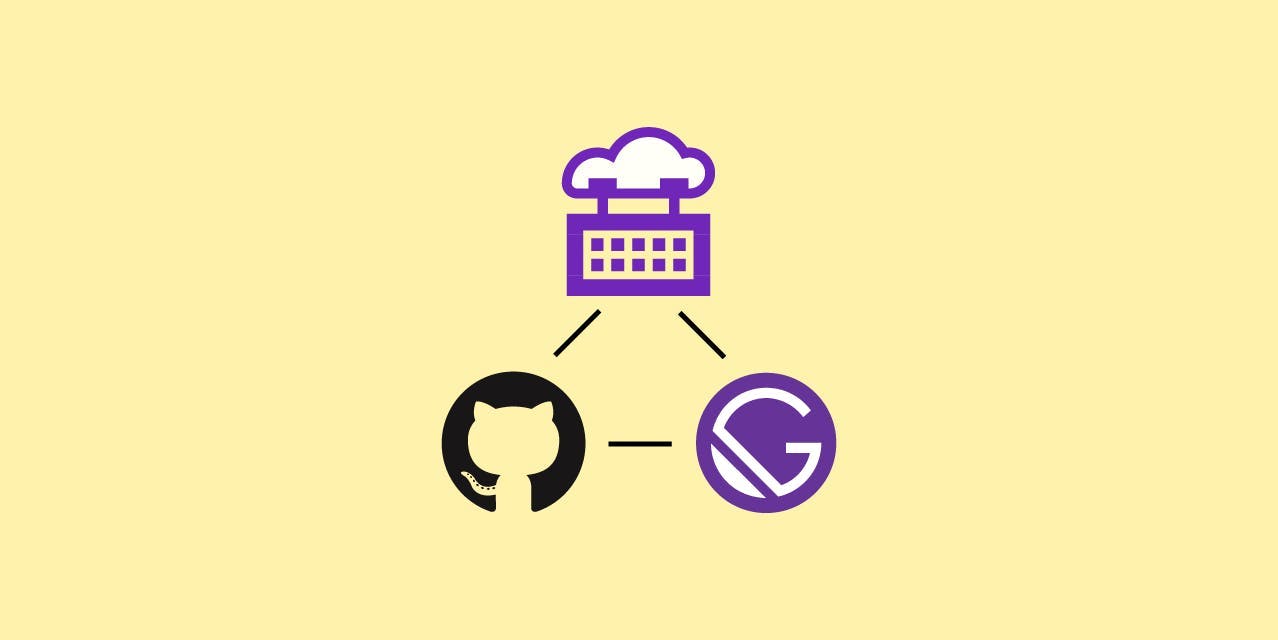
To accomplish this task, you need three things:
There are many options for all of these, but for this blog post, we are going to use the following:
We will also make use of a Gatsby plugin I published called gatsby-plugin-scheduled-publishing.
If you want to see the finished result of following this blog post, take a look at this repo
First you'll need a Gatsby project to work with.
Gatsby offers a "starter" blog project we can use, so open a terminal and run the following command to create a project:
npx gatsby new gatsby-auto-publish-blog https://github.com/gatsbyjs/gatsby-starter-blogNext you need to add the scheduling plugin to your project:
yarn add gatsby-plugin-scheduled-publishingThen inside gatsby-config.js, update the plugins array to include gatsby-plugin-scheduled-publishing:
{
    resolve: `gatsby-plugin-scheduled-publishing`,
    options: {
        publishDate: node => node.frontmatter?.date,
    },
},
This plugin will search all the GraphQL Nodes created by other plugins to find any that include a frontmatter.date property. It then adds an isPublished field on all of these nodes.
This means it's position in the plugins array is important. It should be after any plugins that create these matching nodes. In our case, we need to ensure that it follows the plugin that creates nodes from our .md blog post files. The plugin that does this is gatsby-transformer-remark.
Now we make our site only use the "pubished" posts.
For this to work, we need to update our GraphQL queries to filter out the posts that should not yet be published.
Open up src/pages/index.js. This is our homepage that lists our blog posts. At the bottom of the file you will find the pageQuery. Let's add the filter:
export const pageQuery = graphql`
	query {
		site {
			siteMetadata {
				title
			}
		}
		allMarkdownRemark(
			# This is the filter that will hide the unpublished posts
			filter: { fields: { isPublished: { eq: true } } }
			sort: { fields: [frontmatter___date], order: DESC }
		) {
			nodes {
				excerpt
				fields {
					slug
				}
				frontmatter {
					date(formatString: "MMMM DD, YYYY")
					title
					description
				}
			}
		}
	}
`;
Now let's try it out.
Run yarn start to start serving your app at localhost:8000. You should see a page that lists all our blog posts.
The reason all posts are displayed is because all the posts have a publish date that's in the past.
Let's change that.
Open your Gatsby blog project in an editor and navigate to content/blog/. Each directory inside the blog directory contains an index.md file. These are our blog posts.
Open up the index.md file inside the hello-world directory and you should see a title, date, and description between two sets of dashes (---):
---
title: Hello World
date: "2015-05-01T22:12:03.284Z"
description: "Hello World"
---
This is called Frontmatter. It is used to include metadata inside a Markdown file. The Frontmatter date field is what will be used as the publish date of our posts.
Now update the field to a date some time in the future. Something like this:
---
title: Hello World
date: "2050-05-01"
description: "Hello World"
---
Now go back to localhost:8000, the "Hello World" post should no longer be visible.
There is one other places where we need to update a GraphQL query to include a filter.
Open gatsby-node.js. Inside the exports.createPages function you will find another allMarkdownRemark query. Add the same filter as before to this query:
filter: {
	fields: {
		isPublished: {
			eq: true;
		}
	}
}
Now our app will only create pages for posts that are considered published.
Gatsby Cloud is a hosting service designed to be used with Gatsby apps. I chose to use it for this tutorial because it is easy to setup and they allow you to host one site for free.
To deploy changes to Gatsby Cloud, you grant permission to access your repo on GitHub and your site will automatically be rebuilt when changes are pushed to your main branch.
Before setting anything up, we need to commit our changes. Your project should already be setup to use GIT, so just run the following command:
git add . && git commit -m "Adds gatsby-plugin-scheduled-publishing plugin"Now your repo is ready to be pushed to GitHub.
Gatsby Cloud already has a great tutorial on setting up your first project using GitHub. You should follow it and have your site available online before reading further:
Create and Deploy Your First Gatsby Site
At this point we should have our app hosted on Gatsby Cloud with only the "published" blog posts displayed.
But how do our future blog posts automatically get published when we've reached the publish date?
That's where GitHub Workflow Actions come in.
The basic idea is to have our site automatically rebuild at least once a day. So, when the date on one of our posts matches the current date, it will being to be included in the build.
To do this we also need a way to tell Gatsby Cloud we want to rebuild. They provide an easy way to do this called a "webhook". All this means is that they created a URL that's unique to your site, which you can use to trigger a new build.
To find your unique webhook:
Next, we need to tell GitHub about this webhook:
Now the only thing left to do is create the Workflow Action.
Go back to your code editor and create a new file at .github/workflows/daily_build.yml with the following contents:
name: Daily Gatsby Build

on:
  schedule:
    # Run every day at 10:00am UTC
    - cron: "0 10 * * *"

  # Allows you to run this workflow manually from the Actions tab
  workflow_dispatch:

jobs:
  build:
    runs-on: ubuntu-latest
    steps:
      - name: Gatsby Webhook
        run: |
          curl -X POST ${{secrets.gatsby_webhook}} --header "x-gatsby-cache: false"
Push your changes.
The daily_build.yml you created tells GitHub to send a request to your Gatsby Cloud Webhook every day at 10:00am UTC.
The daily run is specified by this line:
- cron: "0 10 * * *"This uses the same syntax as Linux's crontab command. Basically, you pass in 5 numbers separated by spaces representing minute hour day month dayOfWeek.
In our code, the 10 means 10am and the 0 means the 0th minute of 10am. The * characters used for the rest mean always. In other words, every day, month, and day of the week.
If you'd like to understand this better, you can try out different numbers with this interactive tool.
The call to your webhook happens on this line:
curl -X POST ${{secrets.gatsby_webhook}} --header "x-gatsby-cache: false"${{secrets.gatsby_webhook}} is the syntax GitHub uses to reference "Secrets", like the one you created for your webhook.
curl is a command that allows you to send requests. In this case we are sending it to our Gatsby Cloud Webhook.
Setting the x-gatsby-cache header to false is important. Gatsby wont automatically detect that the day has changed, so we need to manually tell it to clear the cache and rebuild our pages.
Both gatsby-plugin-scheduled-publishing and GitHub Actions use UTC as the default.
You likely want to schedule your posts to publish at a certain time in your own timezone though; not UTC.
Then in the gatsby-plugin-scheduled-publishing options you can specify a different timezone. For example:
{
  resolve: `gatsby-plugin-scheduled-publishing`,
  options: {
    publishDate: node => node.frontmatter?.date,
    timezone: "America/New_York",
    delayInMinutes: 60 * 10,
  },
},
As you can see this sets the timezone to "America/New_York".
It also sets delayInMinutes. This sets the publish time to 10am. (60mins * 10hrs)
You also need to update your daily_build.yml file.
GitHub Actions only support UTC time. You can use this UTC Time Zone Converter to figure out what your local time is in UTC.
Using 10am EDT as an example, the UTC time would be 2pm. That means you would update your cron schedule to this:
- cron: "0 14 * * *"But there's still a problem. If your local timezone uses daylight savings, this wont always be the same. In this example, when New York in switches from EDT to EST, you should use 3pm UTC.
One solution to this is to simply run the task at both times:
- cron: "0 14,15 * * *"Since you also set the time in the plugin, the post will still only publish at your specified time.
gatsby-plugin-scheduled-publishing creates it's own root queries you can use instead of filtering by isPublished.
It works like this:
export const pageQuery = graphql`
	query {
		blogPosts: allPublished {
			frontmatter {
				date(formatString: "MMMM DD, YYYY")
				title
			}
		}
	}
`;gatsby-plugin-scheduled-publishing also accepts a group option.
{
  resolve: `gatsby-plugin-scheduled-publishing`,
  options: {
    publishDate: node => node.frontmatter?.date,
    group: "BlogPosts",
  },
},
This allows you to schedule multiple types of content:
{
	resolve: `gatsby-plugin-scheduled-publishing`,
	options: {
		publishDate: (node) => {
			if (node.frontmatter.type === "BLOG_POST") {
				return node.frontmatter?.date;
			}
		},
		group: "BlogPosts",
	},
},

{
	resolve: `gatsby-plugin-scheduled-publishing`,
	options: {
		publishDate: (node) => {
			if (node.frontmatter.type === "OTHER_CONTENT") {
				return node.frontmatter?.date;
			}
		},
		group: "OtherContent",
	},
},
Then you can filter by group like this:
export const pageQuery = graphql`
	query {
		blogPosts: allPublished(filter: { publishGroup: { eq: "BlogPosts" } }) {
			publishGroup
			frontmatter {
				date(formatString: "MMMM DD, YYYY")
				title
			}
		}

		otherContent: allPublished(filter: { publishGroup: { eq: "OtherContent" } }) {
			publishGroup
			frontmatter {
				date(formatString: "MMMM DD, YYYY")
				title
			}
		}
	}
`;If you want to know the full details about the plugin we used or GitHub Actions, you can read the full documentation: